

Mastering Cocktail Photography: Tips for Stunning Shots
- sirmixalotemail
- Apr 11
- 4 min read
Cocktail photography is an art that combines creativity, technique, and a keen eye for detail. Whether you’re a bartender looking to showcase your creations or a food blogger wanting to elevate your content, mastering the art of cocktail photography can significantly enhance your visual storytelling. In this post, we will explore essential tips and techniques to help you capture stunning cocktail shots that will leave your audience thirsty for more.
Understanding the Basics of Cocktail Photography
Before diving into the specifics, it’s crucial to understand the foundational elements of photography. Here are some key concepts to keep in mind:
Lighting
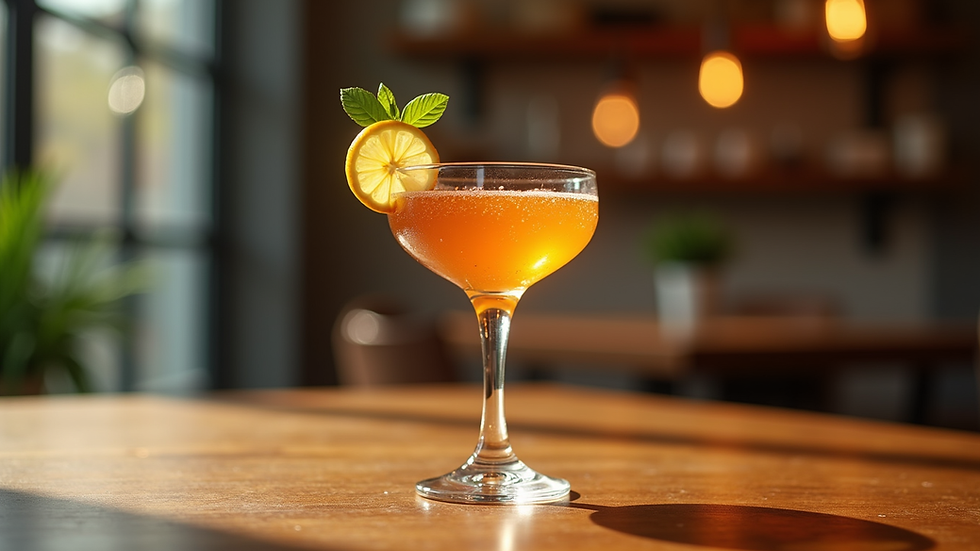
Lighting is one of the most critical aspects of photography. Natural light is often the best choice for cocktail photography, as it creates a soft, flattering effect. Here are some tips for utilizing light effectively:
Use Soft Light: Shoot during the golden hour (early morning or late afternoon) for the best natural light.
Avoid Harsh Shadows: If shooting indoors, position your cocktail near a window or use diffusers to soften the light.
Experiment with Angles: Different angles can dramatically change the mood of your shot. Try shooting from above, eye level, or even from below.
Composition
Composition refers to how elements are arranged within the frame. A well-composed photo can draw the viewer's eye and create a sense of balance. Consider these composition techniques:
Rule of Thirds: Imagine your frame divided into a 3x3 grid. Place your cocktail at one of the intersections for a more dynamic shot.
Leading Lines: Use elements in your environment (like a bar counter or table edge) to lead the viewer’s eye toward the cocktail.
Negative Space: Don’t be afraid to leave empty space in your frame. This can help emphasize your cocktail and create a more minimalist look.
Choosing the Right Background
The background of your cocktail shot can make or break the image. Here are some tips for selecting the perfect backdrop:
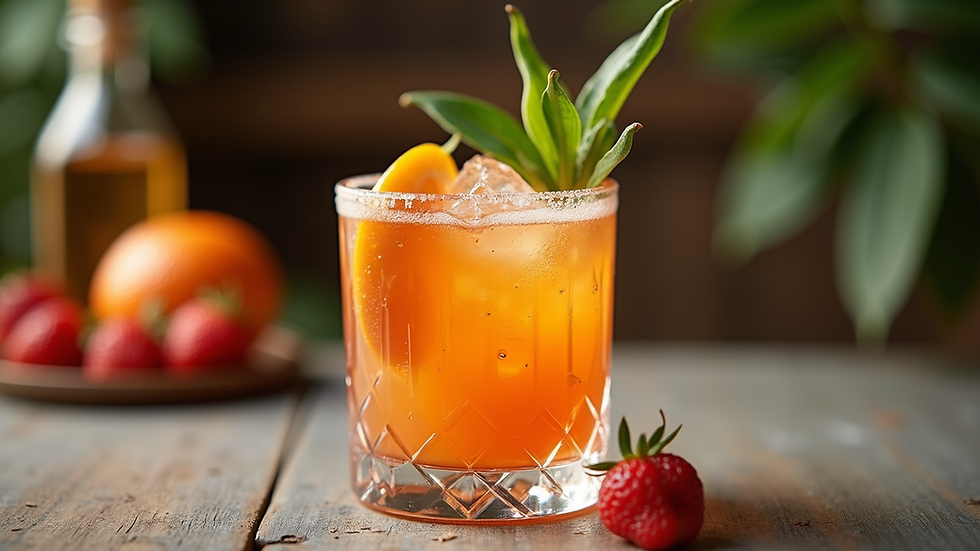
Textured Surfaces
Using textured surfaces like wood, marble, or stone can add depth to your photos. A rustic wooden table or a sleek marble countertop can complement the colors and textures of your cocktail.
Color Coordination
Consider the color palette of your cocktail when choosing a background. A vibrant drink might pop against a neutral background, while a more subdued cocktail could benefit from a colorful or patterned backdrop.
Props and Accessories
Incorporating props can add context and interest to your shots. Here are some ideas:
Glassware: Use unique or elegant glassware to enhance the visual appeal.
Garnishes: Fresh herbs, fruits, or decorative straws can add a pop of color and texture.
Bar Tools: Including shakers, jiggers, or muddlers can tell a story about the cocktail-making process.
Mastering the Art of Styling Cocktails
Cocktail styling is an essential part of photography. A well-styled drink not only looks good but also tells a story. Here are some tips for styling your cocktails:
Garnishing
Garnishes can elevate the visual appeal of your cocktail. Here are some popular options:
Herbs: Fresh mint, basil, or rosemary can add a touch of green and a hint of freshness.
Fruits: Citrus slices, berries, or cherries can add color and vibrancy.
Edible Flowers: These can add a unique and elegant touch to your cocktails.
Layering
For cocktails with multiple ingredients, consider layering them for a visually striking effect. Pouring slowly over the back of a spoon can help create distinct layers, making your drink look more appealing.
Ice Presentation
Ice can be a crucial element in cocktail photography. Here are some tips for showcasing ice effectively:
Use Clear Ice: Clear ice cubes or spheres look more appealing than cloudy ones.
Experiment with Shapes: Different shapes of ice can add interest to your shots. Consider using large cubes or ice shards for a dramatic effect.
Camera Settings and Techniques
Understanding your camera settings is vital for capturing stunning cocktail shots. Here are some essential settings to consider:
Aperture
Aperture controls the amount of light entering your camera and affects the depth of field. A wider aperture (lower f-stop number) creates a shallow depth of field, which can blur the background and make your cocktail stand out. For example, an aperture of f/2.8 or f/4 can create a beautiful bokeh effect.
Shutter Speed
Shutter speed determines how long your camera’s sensor is exposed to light. A faster shutter speed is ideal for freezing motion, while a slower shutter speed can create a sense of movement. For cocktail photography, a shutter speed of 1/125 to 1/250 seconds is often sufficient.
ISO
ISO controls your camera's sensitivity to light. A lower ISO (100-400) is ideal for bright conditions, while a higher ISO (800-1600) can be used in low-light situations. However, be cautious with high ISO settings, as they can introduce noise into your images.
Post-Processing Tips
Editing your cocktail photos can enhance their appeal and help you achieve a polished look. Here are some post-processing tips:
Adjusting Exposure and Contrast
Make sure your images are well-exposed and have good contrast. Brightening shadows and adding contrast can help your cocktail pop.
Color Correction
Adjusting the colors in your images can make a significant difference. Ensure that the colors of your cocktail are true to life and vibrant. Use tools like saturation and vibrance to enhance the colors without making them look unnatural.
Cropping and Framing
Don’t hesitate to crop your images to improve composition. Removing distracting elements can help focus attention on your cocktail.
Conclusion
Mastering cocktail photography is a rewarding endeavor that can elevate your visual storytelling. By understanding the basics of lighting, composition, and styling, as well as honing your camera skills and post-processing techniques, you can create stunning shots that captivate your audience. Remember, practice makes perfect, so keep experimenting with different styles and techniques. Now, grab your camera and start capturing those beautiful cocktails!

Comments